Managing the email users for your account is as simple as logging into the hosting control panel and using the email tab to manage the users for each of your domains.
Login and Go to the Mail Tab
List or Add Mail Accounts
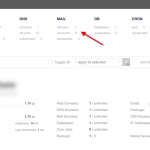
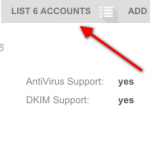
Once you reach the Mail section, hover over the domain name you want to manage email for. You will see a set of buttons appear. Click on the List Accounts button to show all of the accounts already configured.
Edit or Add Accounts
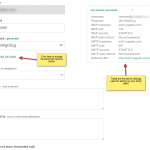
If you want to edit an account, simply hover over the email account and click on the Edit button. If you want to add a new account, click the green + icon on the left side. In both cases, the same account edit page will appear. The list below describes each of the entries in the email account editor:
- Account: The user name portion of the email address. Don’t add the domain name here.
- Password: Enter a secure password for this account. If you are unsure, click the generate button to create a random password. If you are editing an existing account, you can enter a new password here otherwise leave it blank to keep the existing password.
In most cases, this is all you need to deal with email accounts. If you are done, click the Add or Save button at the bottom of the page. You are all done!
If you need to do some advanced settings to this account, click the ADVANCED OPTIONS link to expand additional options. The additional options are described below:
- Quota: This allows you to set the maximum size of the mailbox allowed for this account. Leave this blank for unlimited.
- Aliases: To have this account be known by other names besides the one defined in the Account field above, enter those names here. For example, if the account name is jsmith but you want to be able to receive email as joe.smith as well, simply enter joe.smith into the Aliases area. Enter alias one per line.
- Forward to: This area is for placing one or more email addresses that mail sent to this account will be forwarded to. You must supply the full email address. For example, if you want to have an email account named sales but you want that email to be sent to multiple people, simply enter their email addresses in this area.
- Do not store forwarded email: This option is very highly recommended if you use the Forward to option above. Selecting this option will not keep a copy of the email in the mailbox for this account and simply just forward email. If you truly need to keep a copy of email for this account, then deselect this option.
When you are all done with your options, click the Add or Save button to finish.


